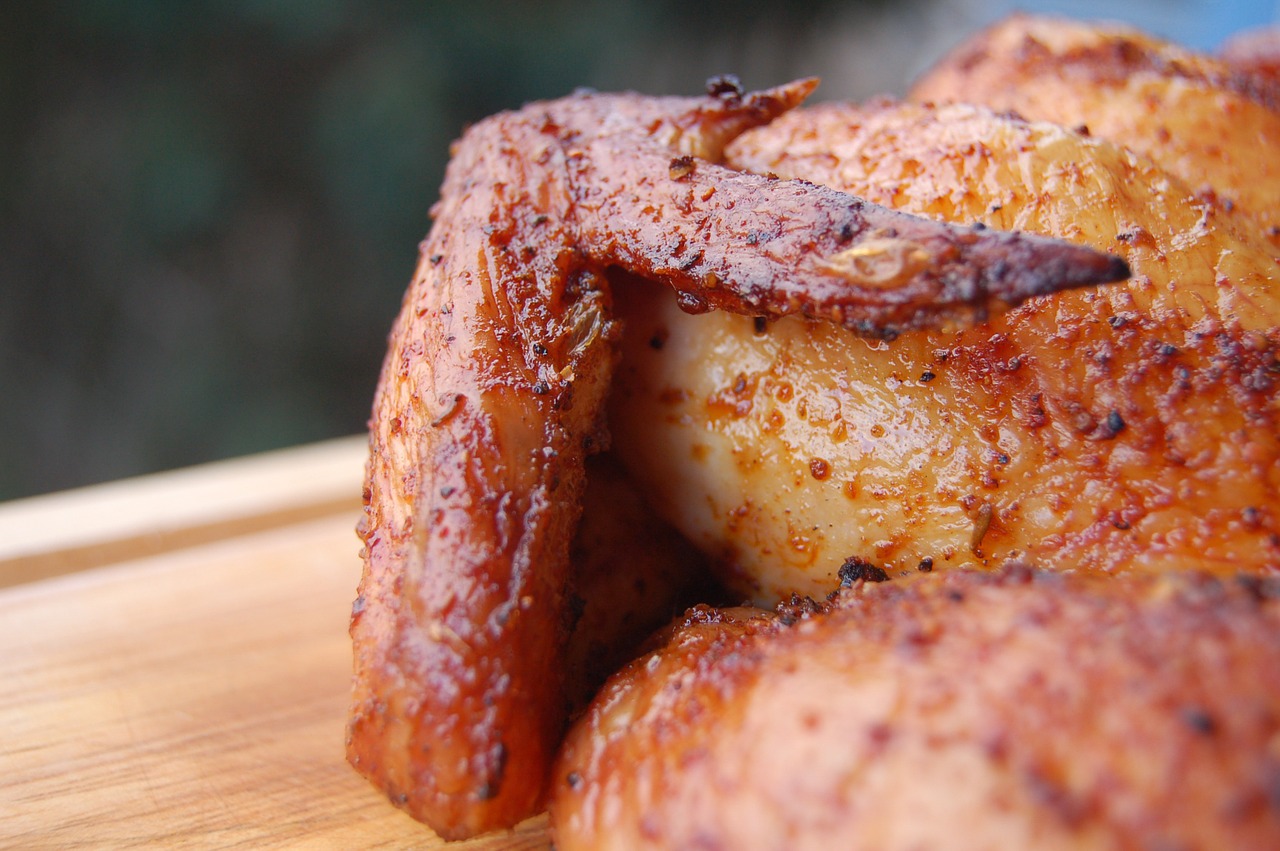
As the weather gets cooler each autumn, I find myself craving slow cooked meals like roasts and braised meats – and roast chicken is always top-of-mind when searching for perfect fall comfort food. And like many comfort classics these days, we’re seeing a renewed interest in finding ways to elevate the humble dishes, often showcasing other great ingredients as seasonings, stuffing, rubs and brines in an effort to raise the flavour quotient in subtle, but complex ways.
There are two must-haves in my mind when it comes to the perfect roast chicken – moist and tender meat beneath thin, crispy and flavourful skin. Today I want to introduce a few tips I’ve picked up in pursuit of perfecting this dish, along with some of my favourite roast chicken recipes – and, of course, the perfect wines to serve with each of these iterations.
To Brine or Not to Brine?
Brining turkeys has gained enormously popularity in recent years, but most of us don’t consider it a must-follow step when roasting chicken. I believe this might be because the focus on brining has always seemed to emphasize the impact it has on keeping meat more moist, and since turkeys are generally larger and require longer in the oven to cook, the benefit of retaining moisture would seem to be more apparent. However, this approach fails to recognize that brining also has a measurable impact on helping the exterior get extra crispy and more delicious – as well as giving us a vehicle to inject great flavour into the meat of the bird itself (much like we might marinate beef or pork). This added step might take a bit of foresight and advanced preparation, but the brining process itself is super-easy and doesn’t require much effort.
A simple base brine I use includes 4 litres of water, 3/4 of a cup of salt, 1/2 cup each of sugar and honey or maple syrup. Add these ingredients, bring them to a boil to dissolve the salt and sugar, allow it to cool and you’ve got your brine. You can add whatever aromatic herbs or spices you might like before boiling your liquid if you want to bring some additional flavours to the mix. Once the liquid has cooled, simply dunk your bird in the pot and allow it to sit overnight (for 18-24 hours) before removing, patting dry and getting it ready to cook. It is really that simple – and I think you’ll find that the impact this process will result in meat so juicy and tender that you’ll never consider roasting a chicken without brining it again!
Get Stuffed
Much like brining, stuffing the cavity of your bird before roasting serves multiple purposes. First, it creates a delicious addition to your meal that you can eat; second, it helps the bird retain moisture and encourages even cooking; and third, the herbs, spices and other ingredients you use in your stuffing help to flavour the meat as well. With these three benefits in mind, there is absolutely no excuse to ever roast a chicken without giving some thought to what you’ll stuff it with. Traditional bread stuffing is easy and delicious – and a perfect vehicle for big and bold flavours. I love the addition of sage to bread stuffing, but rosemary, thyme, basil, roasted garlic and even saffron are all tasty ideas too.
You can enhance a bread stuffing through the addition of vegetables (I am particularly fond of finely chopped mushrooms), seeds, nuts and even cured meats, like bacon or pancetta. Once you’ve decided on the central flavours in your stuffing, make sure to use similar or complementary flavours and seasonings on the outside of your bird. If you’re adding some rendered bacon or pancetta, you can add the rendered fat to your roasting pan, or allow it to cool, add some herbs and spices and use it as a rub on the outside of your bird before you begin roasting.
Roasted Perfection
Now that you’ve got a plan to elevate the pre-cooking preparation of your bird, the only remaining step is to cook it perfectly. As we’ve discussed, I believe the perfect roast chicken balances juicy and tender meat with a thin and crunchy golden brown exterior. I’ve found the best results are achieved by starting the chicken at a higher temperature to begin rendering some of the fat out of the skin, and then reducing the temperature to allow for slower and more even cooking.
Cooking times and temperatures will vary depending on the size of the bird – as well as your home oven – but as a guideline, I like to start the chicken at 435°F for 20 minutes or so, then reduce the temperature to 350°F and allow it to cook 20 minutes per pound. I am a devout disciple of the meat thermometer and would strongly urge you to invest in a good one – this is undoubtedly the best and most dependable way to achieve the perfect level on doneness. As with all larger roasts, it is strongly advisable to allow the bird to rest for 20-25 minutes after it comes out of the oven, before you start carving it up.


